
DIY Roof Repairs Made Simple
DIY Roof Repairs Made Simple Your roof, a sentinel against the elements, occasionally requires a touch of care. Fear not, for this guide will empower you with the knowledge to undertake Step-By-Step Diy Roof Repairs. Armed with the right tools and a dash of know-how, you’ll transform from homeowner to adept roof mender. Let’s embark on this journey and unveil the secrets of Solving Common Roof Issues On Your Own.
Essential Tools for DIY Roof Fixes
Before embarking on any DIY roof repair project, it’s crucial to have the right tools at your disposal. Here’s a curated list of the essentials:
- Safety Gear: Safety should always come first. Ensure you have a sturdy pair of non-slip shoes, a safety harness, and a hard hat to protect yourself from potential hazards.
- Roofing Hammer: This specialized hammer is designed for roofing tasks, featuring a claw for removing old nails and a flat head for driving in new ones.
- Roofing Nails and Screws: Invest in high-quality, weather-resistant fasteners. These will ensure a secure and durable repair.
- Roofing Adhesive: A reliable roofing adhesive is indispensable for sealing joints, flashings, and minor cracks.
- Roofing Knife: A sharp, sturdy knife is essential for precise cuts and trimming of roofing materials.
- Sealant and Caulk Gun: This dynamic duo is crucial for sealing gaps, cracks, and joints. Opt for a high-quality sealant that’s compatible with your roofing material.
- Pry Bar: For removing damaged shingles or tiles, a pry bar with a flat edge is invaluable.
- Roofing Shingles or Tiles: Have a supply of matching shingles or tiles on hand to replace any that are beyond repair.
- Roofing Felt and Underlayment: These provide an extra layer of protection against water infiltration.
- Ladder: Ensure it’s sturdy, in good condition, and tall enough to reach your roof comfortably.
1. Introduction
Your roof, a steadfast guardian, bears the brunt of weather’s whims. Over time, it might exhibit signs of wear. But fear not, for this guide is your ticket to mastering Step-By-Step Diy Roof Repairs. From minor leaks to shingle replacements, we’ll cover it all. So, let’s roll up those sleeves and get to work!
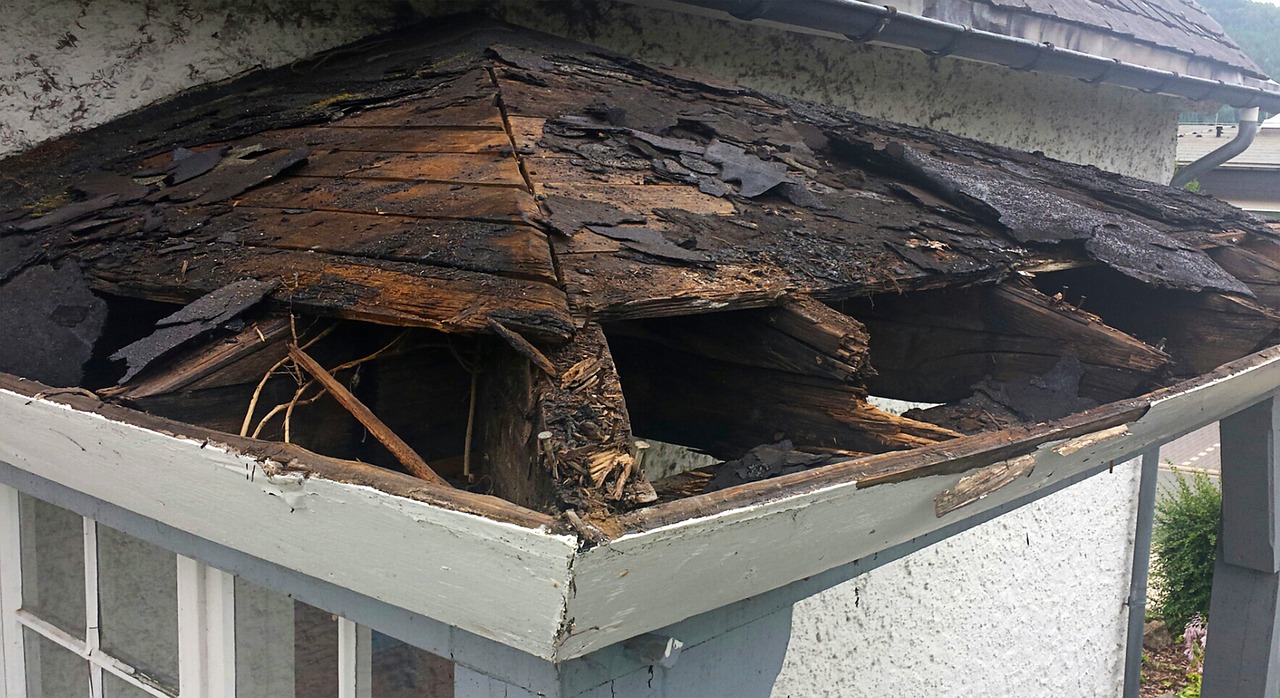
2. Assessing Roof Damage
Before wielding any tools, a thorough assessment is in order. Ascend to your rooftop and scrutinize for:
- Leaky Culprits: Those telltale water stains or dripping points.
- Shingle Woes: Curled, cracked, or missing shingles.
- Puncture Points: Gaps or punctures from external elements.
- Blistered Blemishes: Raised, bubbly areas on the surface.
3. Essential Tools for DIY Roof Fixes
Every DIY enthusiast needs their arsenal. For Diy Roof Fixes, consider these indispensable tools:
- Safety Harness: Ensures secure movement on steep slopes.
- Roofing Nails and Hammer: Essential for shingle replacement.
- Roofing Cement and Sealant: Seals leaks and patches holes.
- Putty Knife: Spreads sealant evenly and removes debris.
- Roofing Shingles: Keep a stash for quick replacements.
- Ladder Stabilizer: Provides a sturdy base on uneven ground.
- Safety Goggles and Gloves: Shield against debris and chemicals.
- Plywood and Tarps: Temporary cover for major repairs.
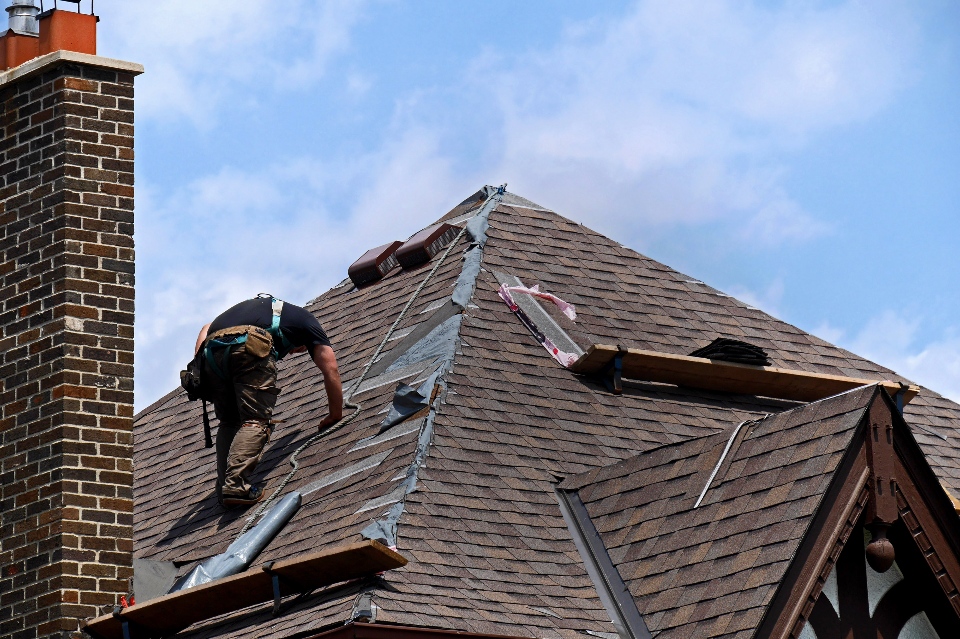
4. Precautions and Safety Measures
Safety should never be overlooked. Adhere to these precautions:
- Weather Watch: Avoid repairs in adverse weather conditions.
- Footwear Matters: Wear non-slip shoes with good traction.
- Buddy System: Have someone nearby for assistance or in case of emergencies.
- Sturdy Ladder: Ensure it’s on stable ground and adequately extended.
- Safety Harness: Essential when working on steep or high roofs.
5. Patching Minor Leaks
A minor leak can escalate into major trouble. Here’s how you can address it:
- Identify the Leak Source: Trace it back to its origin point.
- Apply Roofing Cement: Generously cover the leak area with roofing cement.
- Reinforce with a Patch: Place a patch over the cement and press firmly.
6. Repairing Damaged Shingles
Shingles are your roof’s armor. Damaged ones need prompt attention:
- Loosen Adhesive: Gently lift the shingle above the damaged one.
- Remove Nails: Carefully extract any nails holding down the damaged shingle.
- Replace with New Shingle: Slide in the new shingle and secure with roofing nails.
- Seal Edges: Apply roofing sealant along the edges for added protection.
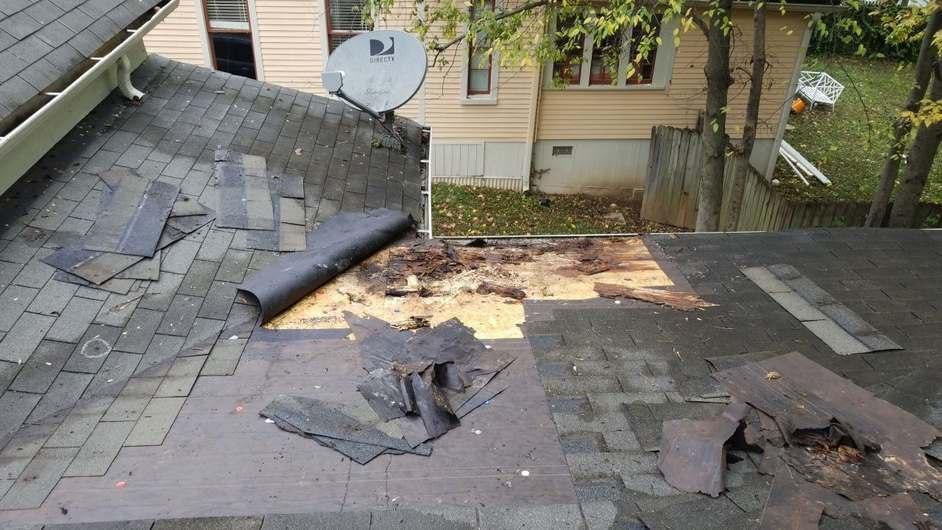
7. Fixing Roof Punctures
External elements can lead to unwelcome punctures. Here’s how to address them:
- Assess the Damage: Determine the extent of the puncture.
- Patch Small Holes: For minor punctures, use roofing cement and a patch.
- Replace Damaged Section: For larger punctures, consider replacing the affected area.
8. Sealing Blistered Areas
DIY roof repairs made simple blistering occurs due to trapped air or moisture. Here’s how to remedy it:
- Identify Blisters: Locate raised, bubbly areas on the roof’s surface.
- Professional Evaluation: For extensive blistering, consider consulting a professional.
- Patch Small Blisters: Apply roofing sealant over small blisters for a temporary fix.
9. Enhancing Insulation
A well-insulated roof ensures energy efficiency. Here’s how to bolster it:
- Check Attic Insulation: Assess the state of insulation in your attic.
- Add Insulation if Needed: If lacking, consider adding more insulation for better energy retention.
- Ensure Proper Ventilation: Prevent moisture buildup by ensuring proper attic ventilation.
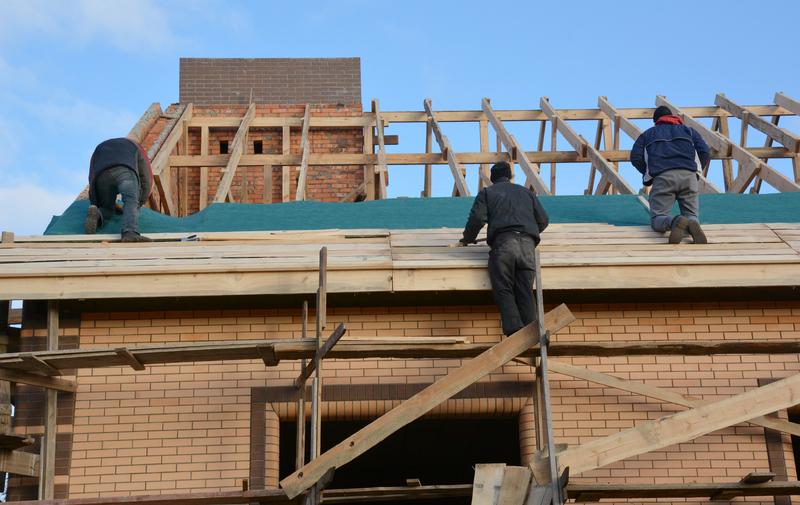
10. Maintaining Roof Longevity
Regular maintenance is key to a long-lasting roof. Follow these tips:
- Scheduled Inspections: Regularly assess your roof for any signs of damage.
- Prompt Repairs: Address minor issues before they escalate into major problems.
- Clear Debris: Remove leaves, branches, and other debris from your roof.
- Trim Overhanging Branches: Prevent damage from falling branches by keeping trees near your house well-trimmed.
11. Local Roofing Supply Stores Near Me
For quality materials and tools, consider visiting local roofing supply stores. They offer a range of products tailored to your roofing needs. Check online directories or ask for recommendations to find reputable stores in your area.
Conclusion: DIY Roof Repairs Made Simple
DIY Roof Repairs Made Simple With this comprehensive guide, you’re now armed with the knowledge to tackle Diy Roof Repairs like a pro. Remember, safety first, and never hesitate to seek professional help for complex issues. So, go forth, and let your roof stand tall, resilient against the elements! Happy repairing!


